
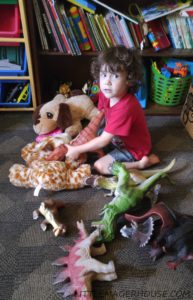
Garreth has had these big dinosaurs for almost a year now. He loved them the first couple months. He would set them up along with every other one of his smaller dinosaurs in the living room and on the kitchen counters, pretty much everywhere. But, as he grew tired of them, they eventually just became a constant heap of toys on his bedroom floor along with his too-big stuffed animals. I had nowhere to put them, and I was tired of the clutter!
*This post contains affiliate links. That just means if you click through one of my links and purchase something, I make a small commission at no extra cost to you. See my disclosure policy.
Growing up with five siblings in our home, we had a LOT of toys. My mom had a few of those hanging toy hammock nets in our rooms for all the stuffed animals. I knew that’s what I needed, and being penny-pinching me, I decided to make a DIY version. Starting on Pinterest, I came across a couple of tutorials that required sewing, and most others showed how to crochet one, but I just wanted something quick and easy. I gave up searching DIY stuffed animal storage hammock tutorials for the moment to check on the boys.

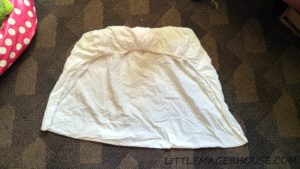
As I was attempting to fold our extra fitted crib sheets they had thrown around everywhere, I noticed they were pretty much the shape needed for the hammock. Awesome! I would never have thought of a crib sheet before! Thank you, boys, for making the mess that led me to discover this! Never thought I’d say that!
Here’s how I used it:
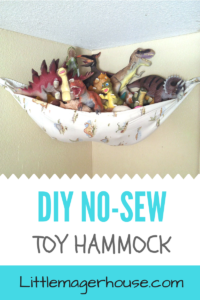
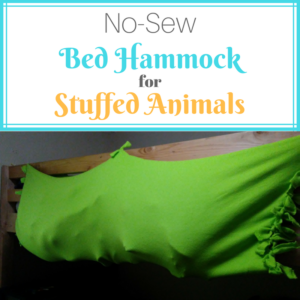
DIY Stuffed Animal Storage Hammock
Now, I used a fitted sheet with elastic only at the ends. You could probably still use one with elastic all the way around, it will just look different.
Update: After almost two years of Garreth tugging at it every day, the hammock tore down as he was slamming his dinosaurs in it. It’s because the sheet is woven. If you use grommets, this shouldn’t happen! An alternative to the sheet is cutting out a piece of fleece or jersey into a triangle and either screwing it straight into the wall like this or cutting slits into the corners to make “ties” to tie around the screws. Fleece and jersey do not tear or fray when cut so this is a really good option!
I made another no-sew stuffed animal holder here.
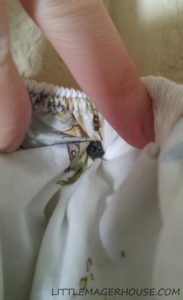
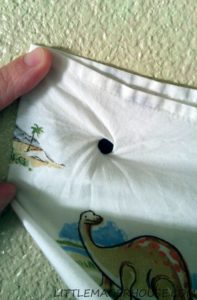
Drill a screw right under the middle of the elastic end into the corner where you want to hang it(below left). And two more into the corners of the folded sheet on the walls(below right). You could also use grommets and screw-in hooks if you don’t like this method.
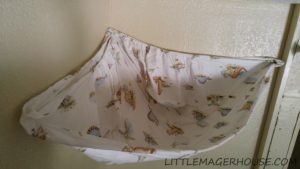
It should look like this.
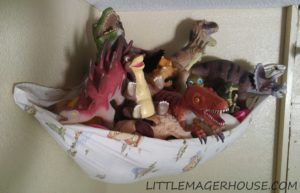
Now, pile it full of stuffed animals and toys!
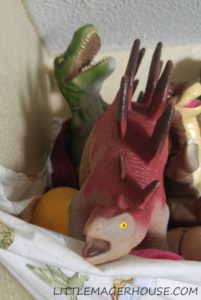
Garreth thought my placement of the T-Rex was especially hilarious because it was going to eat the scared Stegosaurus!
And of course, just because I put them out of his reach, he gains interest again and has me get them all back down.
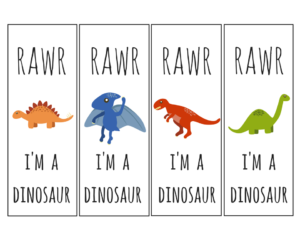
Would your kids enjoy a free set of dinosaur bookmarks?
You can get the FREE dinosaur bookmarks by signing up below. Plus, you’ll get access to all of our other free printables in the exclusive Printables Library!
Related: DIY Stuffed Animal Holder for a Bed – No-Sew
Hi! I’m Christina and I have the same issue with 3 boys 8,6 and 14 months, im on my way in two rooms to do this right now, just wanted to say thank you!! Thank you for taking time to write about great ideas..☺
You’re very welcome, and I’m glad you liked it! Thanks for commenting, Christina!
I’m so glad the post helped you out! Love that you’re going to let your son pick out the sheet!
Thanks for sharing this! I ended up modifying it a bit as we’re renting but the idea of using a crib sheet is brilliant.
Awesome! Yeah I was in a hurry to get it up there and we’ve already got so many holes in our walls from hanging things so I wasn’t worried about a few more lol
I’d love to know how you modified it! My walls are vinyl and my landlord prohibits holes in the wall for any reason
Allison, you could put grommets in the sheet where the screws are and hook them onto some command hooks on the wall!
You know it won’t be long before that little zoo starts invading the rest of your house so you need to contain immediately. Whether your child’s bed is covered, their closet is full or their room is carpeted with stuffed animals, this will calm the chaos and help restore some sanity back into your life. Great idea!
This is exactly what i needed to do and exactly why i love pintrest ms fugal mama Ms Amanda i thank you whole heartedly for being the frugalista you are and posting this my sisters house may just become hers again by the time shes off bed rest!!! Thanks again!
Yes, Pinterest is awesome! You’re welcome and thanks for taking the time to comment! <3
This is the exact idea I had because my wife is a huge stuffed animal lover and I hate to admit it but I am the one that bought most of them for her. I tried this exact same idea yesterday with an old fitted sheet from a queen bed. The elastic goes all the way around the sheet. I thought I had it perfect until I started trying to load her largest stuffed animal which is a body sized pink unicorn. i believe I may not have stretched the outer edge tight enough which I was going to try today. She wanted to buy a hammock online but I want to try this again and after reading you post I think i may be able to get it correct this time. I believe pulling it much tighter on the outside edges will make this work. I don’t know if I can post picks to your pin but I would love to after figuring this out.
Very helpful advice in this particular post! It is the little changes that produce the largest changes. Thanks for sharing!
They are a must-have for any home with kids!
I agree, George!
This is great! I’ll definitely try this!
This really answered my problem, thanks!