My previous stuffed animal hammock has finally had enough abuse from Garreth. It sadly tore down as he was slamming his huge dinosaurs in it. It worked for almost two years though! I think that’s pretty great for a quick five-minute project! Now on to the next DIY stuffed animal holder.
*This post contains affiliate links. That just means if you click through one of my links and purchase something, I make a small commission at no extra cost to you. See my disclosure policy.
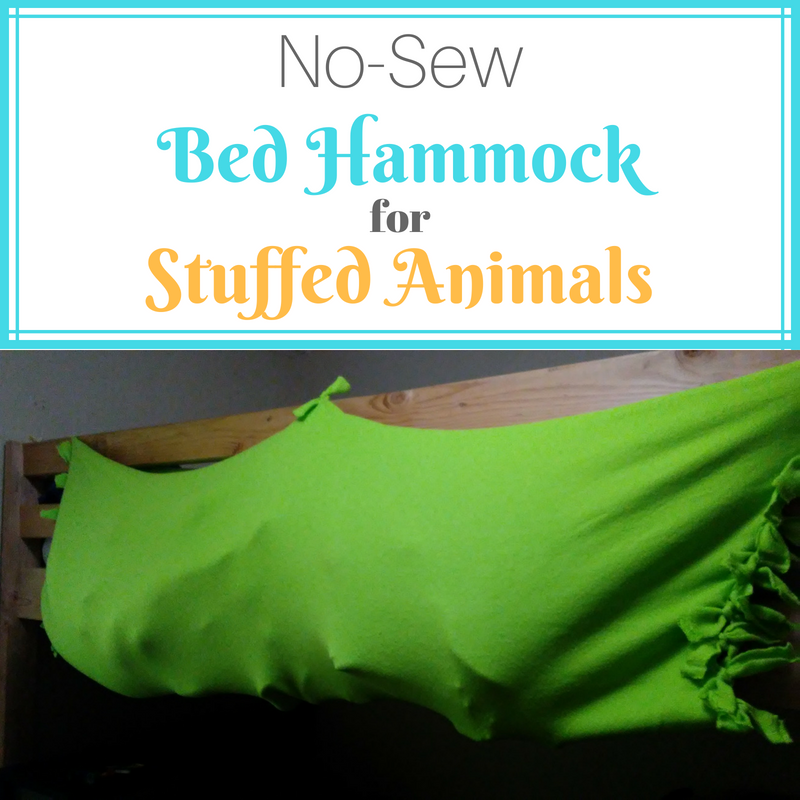
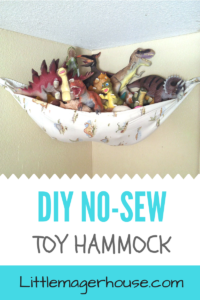
No-Sew DIY Stuffed Animal Holder
I decided to make something that would attach to his bed because I wanted to put up a shelf where the old hammock was. I was determined to use something I already had so I dug in my fleece stash and found an old tie blanket piece that already had slits which meant less work. I’ll tell you how to measure your bed and then cut out a piece custom fit.
First, you need to figure out where you want it to attach to the bed. His bed has the ladder at the end, so I had to attach it to the side. Measure from the top of where it will be tied to how far down you want it to hang. Double that measurement. Fleece stretches so it may droop down more than what you’re wanting. If that’s the case, you can always cut off more to make it shorter. Your next measurement will be from the left corner of where it will be tied to the right corner.
If yours is going to be very long like mine you might want to have an extra tie in the middle for support so it doesn’t droop down too much. There are two ways to do that. You can add an extra 6 inches to the first measurement and make unnecessary slits in the top like mine has. Or you can just snip a small hole in the top middle layers and cut off an extra piece for a tie. I would have used the second option if the slits weren’t already there.

Cut out your fleece and fold it up the way it will be hanging. Then make 3-inch slits into both layers all along the sides. And the top if you are doing it like mine. NOT the folded bottom!
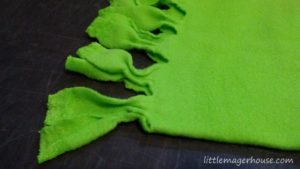
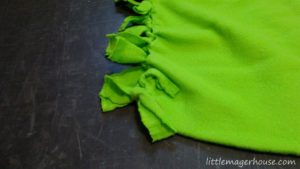
Now tie the pieces together on the sides to attach the front and back. Leave two ties open on the top of your sides. These will be used to attach it to the bed. Don’t tie the top pieces if you made those.
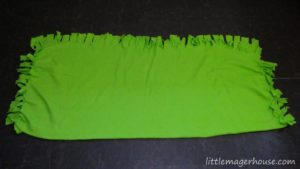
Here’s what it should look like. If you opted out of the unnecessary slits and need the extra tie still, go ahead and do that. Mark a spot 1-2 inches from the top middle and cut a hole through both layers just big enough to fit a small tie through. Cut out a 1×6 inch piece of fleece for the tie. Make sure the stretch is going along the width and not the length. This will keep the tie from becoming too tight and hard to undo.

Now tie it to the bed with those pieces you left undone. Attach them to the ends of the bed, not the side you want it to hang from, or it will just slide to the middle. Here’s how I attached mine.
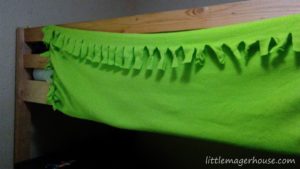
The other end didn’t quite reach all the way so I just made an extra tie to pull it taut to the other side of the bed.
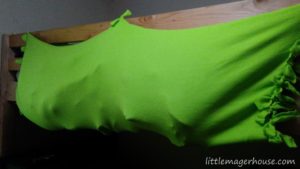
Pile the toys and stuffed animals in there! If you made that extra piece, pull it through the holes and tie. Or tie two of those middle pieces together.
Do you think you’ll try out this DIY stuffed animal holder? Let me know how it turns out if you do!
Related: DIY Stuffed Animal Storage Hammock – Easy No-Sew
Love!